How Do You Switch To Renewable Energy?

Renewable energy sources like solar, wind, hydropower, geothermal, and biomass are derived from natural processes that are constantly replenished. According to the UN, renewable energy is “energy derived from natural sources that are replenished at a higher rate than they are consumed” (UN, 2019). Switching to renewable energy on an individual or household level is important because it reduces reliance on fossil fuels, which are non-renewable and harmful to the environment. Going renewable allows households to take control over where their energy comes from while also reducing their carbon footprint.
Assess your current energy usage
The first step in switching to renewable energy is to look at your past electricity bills to determine your overall household energy needs. Electricity bills show your monthly kilowatt-hour (kWh) usage, which is a measurement of how much electricity your home uses. According to the U.S. Energy Information Administration (EIA), in 2022 the average U.S. household used 10,791 kWh annually, or about 899 kWh per month [1]. However, usage can vary significantly based on the size of your home, number of occupants, appliances, and climate where you live.
To calculate your average monthly kWh usage, look at bills over the past year and add up your total kWh used each month. Then divide this number by 12 months to get your household’s typical monthly usage. Knowing this average monthly usage will help you determine the appropriate size of renewable energy system to meet your home’s electricity demands.
Evaluate available renewable options
There are several types of renewable energy sources to choose from. The main options for homes are solar, wind, geothermal and hydro power.
Solar Power
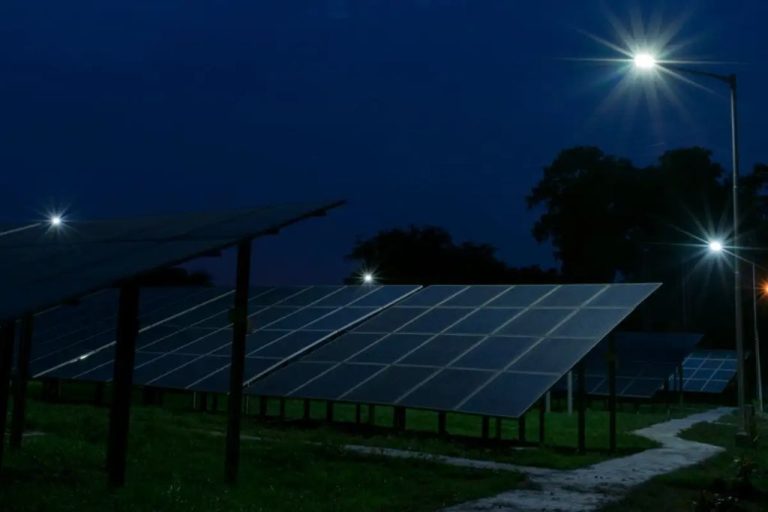
Solar power harnesses energy from the sun using photovoltaic cells. The main pros of solar power are that it produces no emissions, has low maintenance costs, and works in most climates (Source). The cons are that it can be expensive to install, doesn’t work well on cloudy days, and requires adequate roof space.
Wind Power
Wind power uses turbines to generate electricity from wind. The pros are that it produces no emissions, is cost competitive, and has low maintenance costs. The cons are that it only works in windy areas, can be unreliable, and some find the turbines visually unappealing (Source).
Geothermal Power
Geothermal power taps into underground heat using a ground source heat pump. It provides consistent base load power and has low maintenance costs. However, it depends on specific geology, involves digging which can disturb landscapes, and has high upfront costs (Source).
Hydro Power
Hydro power harnesses energy from flowing water to produce electricity. It provides reliable base load power. But hydro power depends on suitable water sources, disturbs river ecosystems, and involves high upfront costs for dams and turbines.
Calculate costs and incentives
The costs of switching to renewable energy can be significant, so it’s important to carefully research and calculate all expenses. According to the U.S. Department of Energy, “Consumers can find financial incentives and assistance for energy efficient and renewable energy products and improvements in the form of rebates, tax credits, and loans that will help reduce the costs of installations and improvements” (https://www.energy.gov/energysaver/financing-and-incentives).
When calculating costs, research the total upfront installation expenses as well as any ongoing maintenance costs for your specific renewable energy system. Get quotes from multiple installers to find the best deal. Also factor in the savings on your energy bills after switching to renewables.
At the federal level, the Residential Clean Energy Credit offers a tax credit equal to 30% of the cost of installing solar panels, solar water heaters, small wind turbines, geothermal heat pumps, and fuel cells (https://www.irs.gov/credits-deductions/residential-clean-energy-credit). Many states and utilities also offer additional rebates and incentives for renewable energy installations and energy efficiency improvements. Be sure to research all available options to maximize savings.
Carefully calculating costs and leveraging incentives can make the switch to renewables much more affordable.
Select the right system
The renewable system you choose will depend on your specific needs, location, and budget. The three main options are grid-tied, off-grid, and hybrid systems.
Grid-tied systems connect to the electric grid, allowing you to send excess energy back to the grid. They require relatively low upfront costs but do require an existing grid connection. According to Chint Global, grid-tied systems are generally the most cost-effective renewable option.
Off-grid systems are not connected to the electric grid and require battery storage. While they allow independence from the grid, upfront costs are higher due to the batteries. Off-grid systems make the most sense in remote locations without existing grid access, according to Unbound Solar.
Hybrid systems combine grid-tied and off-grid capabilities. You can use grid power when advantageous but also disconnect and operate off-grid with batteries when needed. According to Paradise Solar Energy, hybrid systems provide the most flexibility but at increased complexity and cost.
Carefully weighing the pros and cons of each system will lead you to the optimal renewable solution for your specific home or business.
Find an installer
Choosing the right installer is crucial for a smooth installation process and long-term satisfaction. Research and vet installers thoroughly before selecting one.
Look for experienced installers that have been in business for at least 3 years and have strong customer reviews. According to the U.S. Department of Energy, “A good rule of thumb is to work with installers who have at least three years of experience. Ask them how long they’ve been in business and how many systems they’ve installed” (Source).
Check credentials like licenses, insurance, and any professional certifications. Make sure they have expertise with your specific system type and location. According to EnergySage, “When you select an installer, you want to know that it’s a reputable company with a strong track record, all the appropriate licenses and certifications, and extensive experience installing solar panels in your area” (Source).
Get at least 3 bids from reputable local installers. Compare costs, equipment, warranties, production estimates and services offered. Ask questions about their specific experience and qualifications for your project.
Reading online reviews, talking to past customers, and checking with organizations like the Better Business Bureau can provide insights on an installer’s quality of work and customer service.
Prepare your home
Before installing a renewable energy system, it’s important to evaluate if any electrical upgrades are needed and make any necessary preparations to your roof or site. Older homes may need their electrical panels, wiring, and outlets upgraded to handle the increased load from renewable energy systems (1). Evaluate if your main electrical service panel has enough capacity and spaces for circuit breakers to connect a renewable energy system. Upgrading to 200 amps or more may be recommended. Have an electrician inspect your electrical system.
For solar systems, ensure your roof is in good condition and has proper solar orientation (generally south-facing in the Northern hemisphere). Any roof repairs or replacements should be done prior to solar installation. Installers will also need access to the roof area where panels will be placed. For small wind turbines, scout potential install locations that are elevated and clear of obstructions (2). Make sure the location meets all zoning setbacks and allowances.
(1) https://www.altestore.com/diy-solar-resources/top-5-things-to-consider-when-preparing-for-a-renewable-energy-system/
(2) https://www.linkedin.com/pulse/preparing-your-home-renewable-energy-system-solar-wind-?trk=organization_guest_main-feed-card_feed-article-content
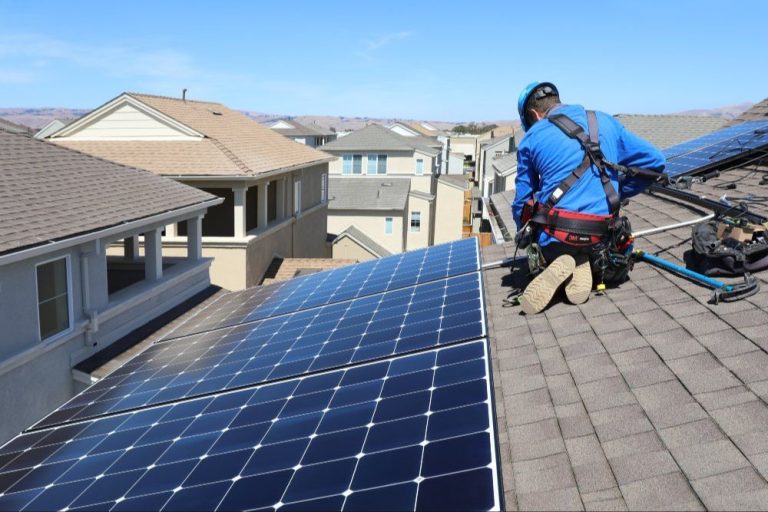
Complete the installation
After all approvals and permits are secured, it’s time to schedule the installation. Some key steps in the installation process include:
Schedule installation date – Work with your solar installer to select a start and end date for the project. Allow several days to a few weeks for the full installation. Agree on timeline and crew access.
Upgrade electrical panel – Most homes require an upgraded electrical panel to integrate solar. This is often done at the start of installation.
Mount racking system – Rails and racking are installed on the roof to secure the solar panels. The system is sized and oriented for maximum sun exposure.
Install panels – Solar panels are mounted to the racking system. Wiring is run from panels down to the inverters and electrical equipment.
Install inverters – Inverters are wired to panels and mounted near electrical equipment to convert DC to AC power.
Connect to electrical panel – Cables connect inverters to home’s electrical system. Meter is often replaced with a bi-directional net meter.
Complete inspections – Building inspectors review work at multiple stages. Final inspection ensures all code and safety requirements are met.
Activate system – Once approved, the system can be activated to start producing renewable energy for the home.
The full installation often takes 1-2 weeks. Permitting, approvals and inspections may add several weeks around installation timelines.
Leverage incentives
After your renewable energy system is installed and operational, be sure to submit any required paperwork to receive available federal, state, and local incentives. The most notable incentive is the federal solar Investment Tax Credit (ITC), which allows you to claim 26% of the cost of installing a solar photovoltaic system as a tax credit on your federal taxes through 2032, and 22% thereafter (Homeowner’s Guide to the Federal Tax Credit for Solar). The ITC applies to both residential and commercial solar installations. To claim the ITC, make sure your installer provides you with documentation of the final system costs. Then file IRS Form 5695 with your annual tax return (Residential Clean Energy Credit).
Additionally, many states and utilities offer upfront rebates or ongoing incentives for renewable energy installations and excess energy sold back to the grid through net metering programs. Be sure to confirm eligibility and apply for any available incentives before your system goes live. Understanding the tax implications is key to maximizing savings from incentives and credits.
Maintain your system
Proper maintenance is crucial for maximizing the performance and longevity of your renewable energy system. Routine maintenance helps identify issues early and minimize costly repairs down the road. Plan to budget 1-3% of your initial system cost per year for maintenance.
Monitor your system’s energy production regularly to ensure it’s operating as expected. For solar PV systems, inspect panels a few times per year and clear any debris or snow that could impact production. Check inverters, batteries, and wiring connections annually. Troubleshoot any noticeable dips in performance. Work with your installer if you’re unable to resolve issues on your own.
Consider an annual service contract with your installer to handle maintenance tasks and repairs. For more complex issues like inverter failure, you may need a professional. Take advantage of manufacturer warranties on system components while they are active.
With proper care and maintenance, your renewable energy system can reliably produce clean energy for over 20 years. Stay on top of any maintenance needs to maximize savings and return on your investment. For more guidance, see: https://www.facilitiesnet.com/powercommunication/article/Renewable-Energy-Systems-Important-Maintenance-Practices–12452